
AWS ECS for EC2
This page provides steps to install Appsmith on a single node EC2 Linux + Networking ECS Cluster using an EC2 instance.
Prerequisites
- Amazon Web Services (AWS) account. If you don't have one, Create an AWS Account.
- An Amazon EC2 key pair. If you don't have one, Generate an SSH Key pair.
- An Amazon Security group with ports 80, 443, and 22 accessible. If you don't have one, Create a Security Group
- To enable port access, add an inbound rule for the port ranges 80, 443, and 22 to the security group you created above.
- Switch to the Classic Amazon Web Console.
- Ensure you have created the security group and the SSH key pair in the same region.
Install Appsmith
To deploy Appsmith on the Amazon ECS cluster that has a single node, you need to complete the below essential steps:
If you have an EC2 Linux + Networking single node ECS Cluster that has the Number of Instances set to
1, move to create task and container definitions step. If you don't have one, follow these steps to create a single-node ECS Cluster:a. Go to Classic Amazon Web Console and click Clusters on the sidebar.
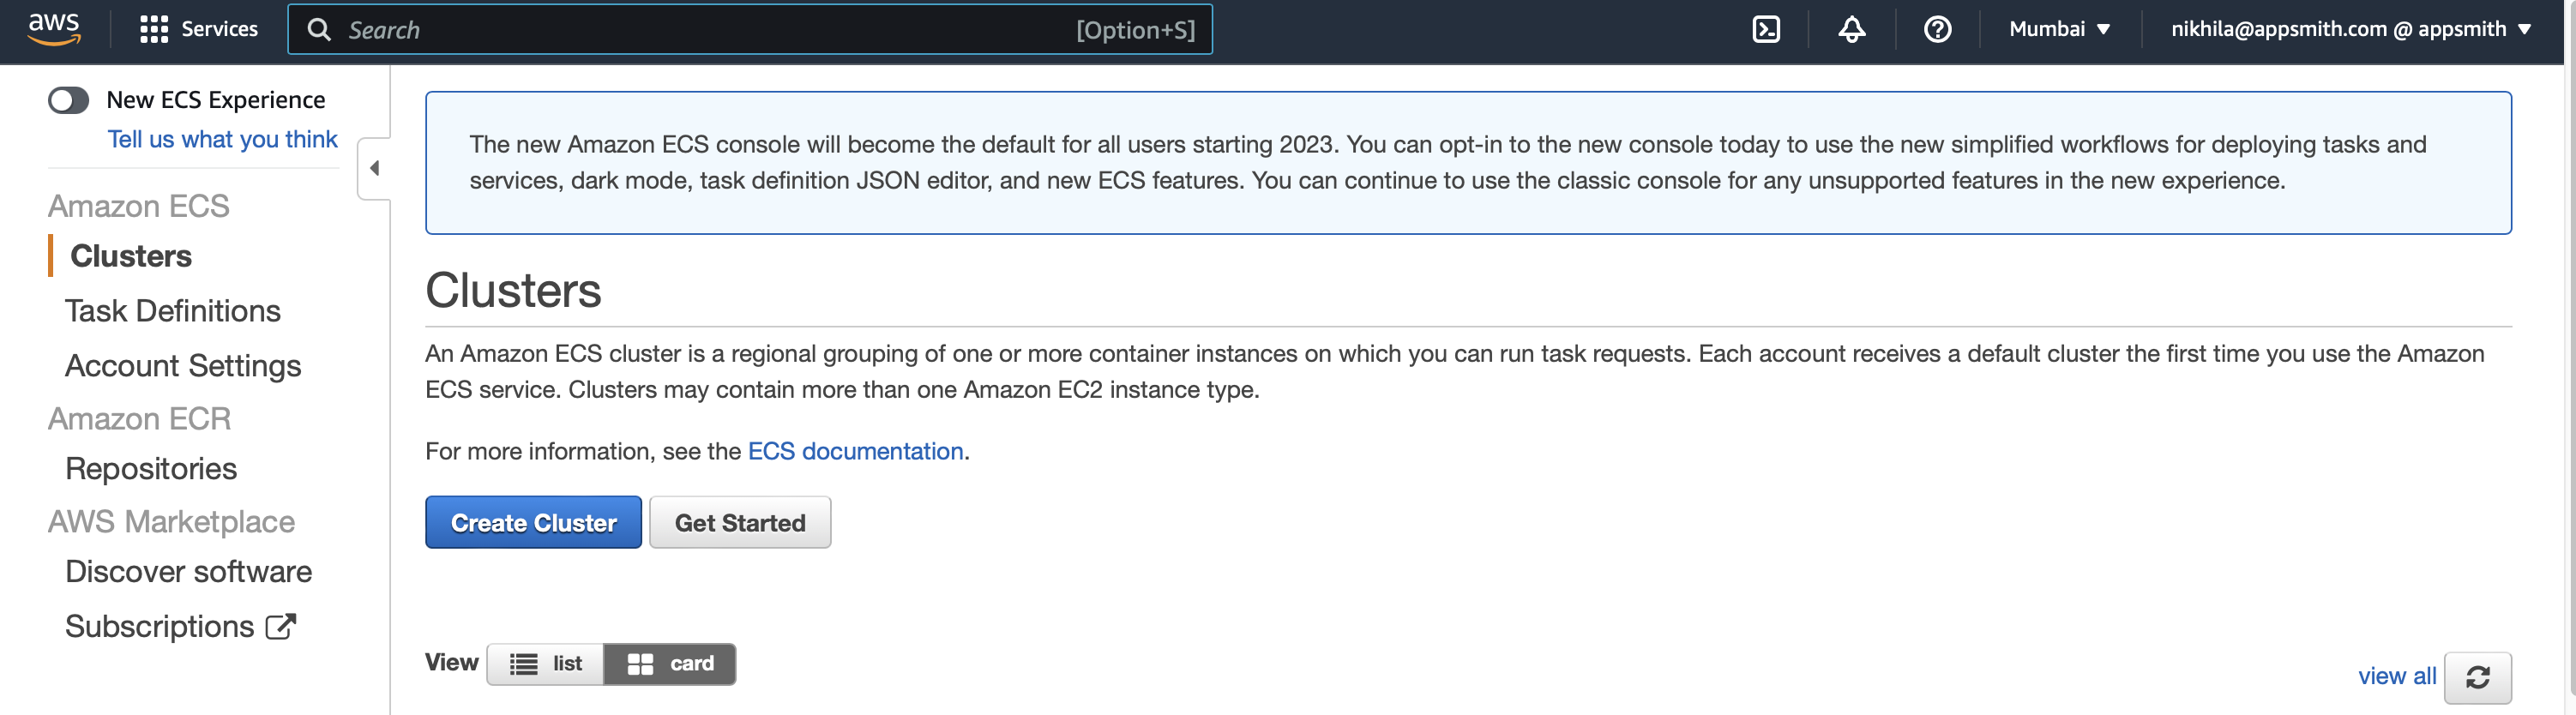
Create Cluster using Classic Amazon Web Console b. Click the Create Cluster button.
c. Choose EC2 Linux + Networking as the cluster template.
d. Click the Next step button.
e. Give a desired name to the Cluster name field.
f. Configure the instance as shown below:
Attribute Value Provisioning Model On-Demand Instance EC2 instance type A minimum t3.mediumort3a.mediumis neededNumber of instances 1 EC2 AMI ID Amazon Linux2 AMI Key pair Select the Key pair that you created in the Prerequisites step g. Scroll down to the Networking section, and configure as shown below:
Attribute Value VPC Either create a new VPC or select an existing one from the dropdown Subnets Select the subnet that has public access Auto-assign public IP Select Enabled from the dropdown Security group Select the security group that you created in the Prerequisites step h. Scroll down to the CloudWatch Container Insights section, and tick the Enable container insights checkbox.
i. Click the Create button. You see a launch status screen as shown below:
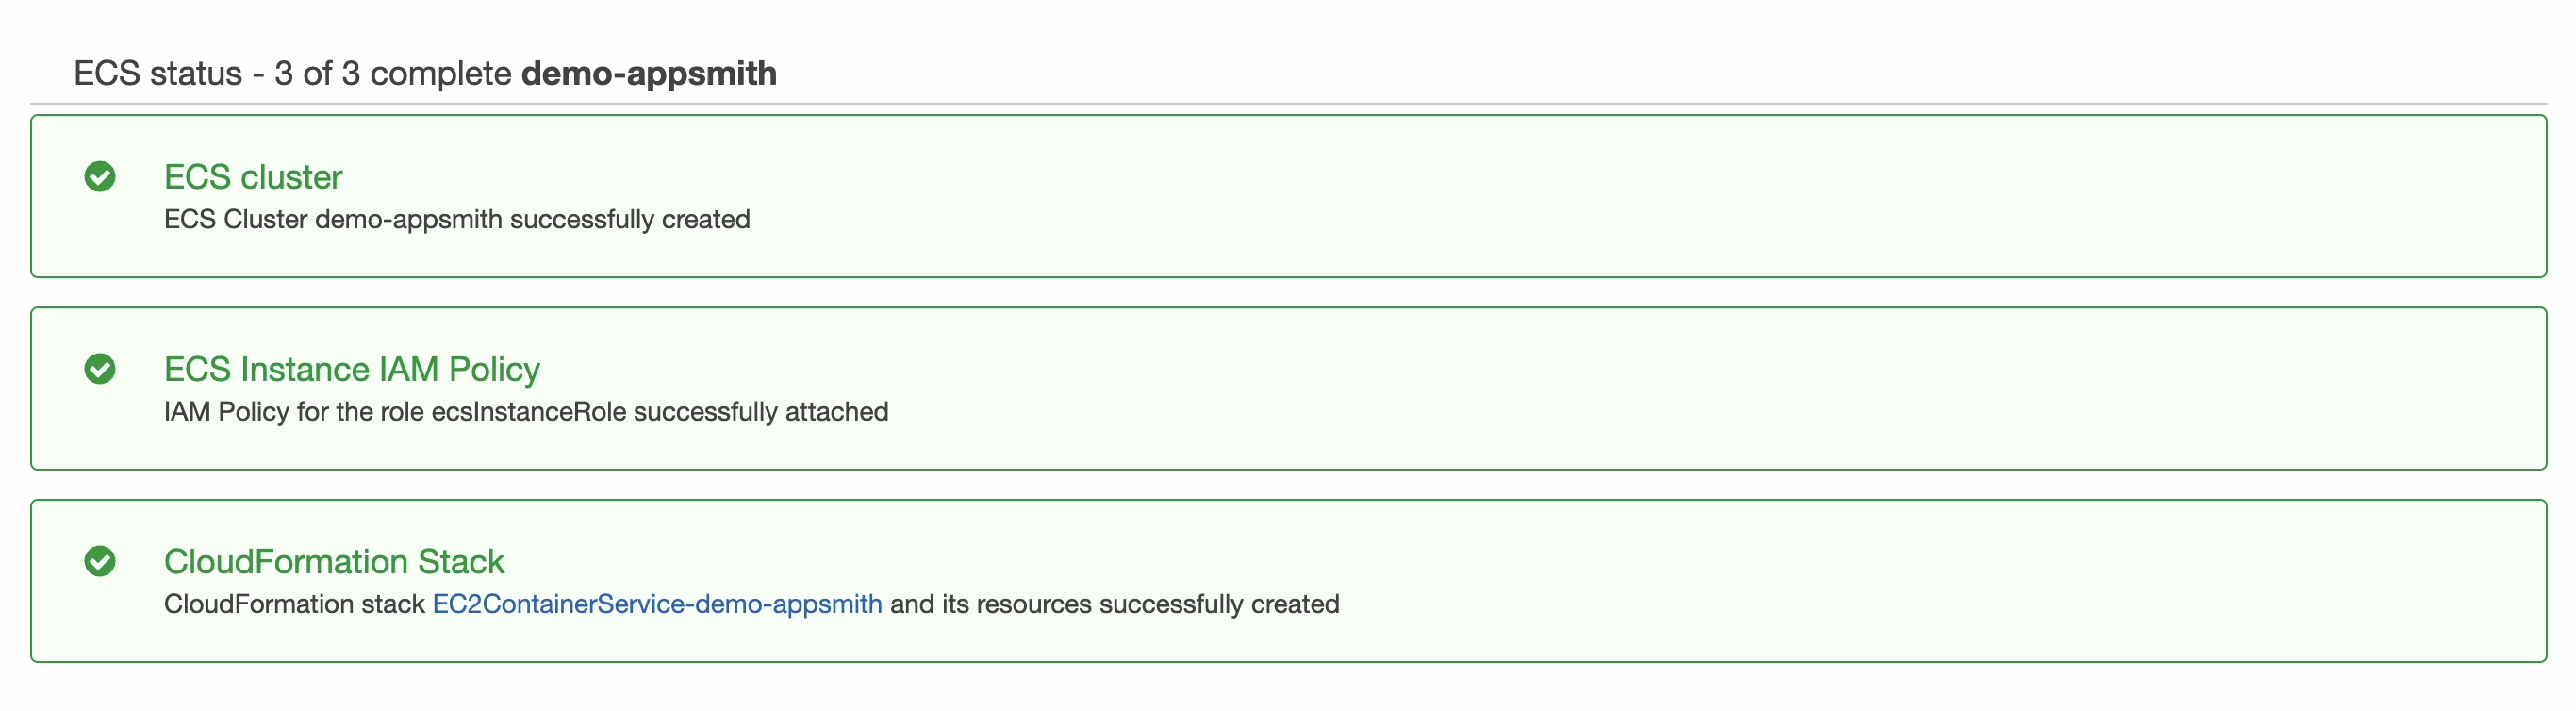
A launch status screen shows the ECS Cluster status j. Click the View cluster button to see your cluster
Follow these steps to create task and container definitions:
a. Click Task Definitions from the sidebar.
b. Click Create new Task Definition.
c. Select EC2 as launch type compatibility.
d. Click the Next step button.
e. Configure task and container definitions as shown below:
Attribute Value Task definition Name Give a desired name Task role - Task execution role - Task memory (MiB) Minimum 3 GB is needed Task CPU (unit) Minimum 1 virtual CPU is needed For other attributes, move ahead with the default selection.
f. Scroll down to the Volumes section.
g. Click Add volume button.
h. Add volume as shown below:
Attribute Value Name Give a desired name Volume type Bind Mount Source path /appsmith/stacksAttentionThe Bind Mount volume type creates a mount directory named
/appsmith/stackson the host EC2 instance. If you delete the cluster or the node, the Appsmith data is also lost.i. Click Add button.
j. Scroll up to the Container definitions section.
k. Click Add container button.
l. Add container definition as shown below:
Attribute Value Container name Give a desired name Image a. For Community Edition - appsmith/appsmith-cefor the
b. For the Business Edition -appsmith/appsmith-eeMemory Limits (MiB) Give a desired value. Minimum 3000 is needed m. Scroll down to the Port mappings section.
n. Add port 80 to the Host and Container port fields, and set the protocol as
tcp.o. Click Add port mapping and add port 443 to the Host port and the Container port fields, and set the protocol as
tcp.p. Scroll to the Storage and Logging section.
q. Add the Mount points as shown below:
Attribute Value Source volume The volume name that you added for Appsmith Container path /appsmith-stacksLog configuration Check the Auto-configure CloudWatch Logs checkbox r. Scroll down to the
s. Click Add button.
t. Scroll down to the bottom of the page.
u. Click Create button.
Follow these steps to create and run an ECS service:
a. Go to the cluster dashboard and click the name of the ECS cluster.
b. Click Create under the Services tab.
c. Configure service as shown below:
Attribute Value Launch type Select EC2 Task definition Select the task definition that you created Service name Give a desired name Service type Select DAEMON For other attributes, move ahead with the default selection.
d. Click the Next step button.
e. Keep the default selection for the Configure Network page and click the Next step button.
f. Click the Next step button on the Set Auto Scaling page.
g. Review the details and click Create Service. You see a launch status screen as shown below:
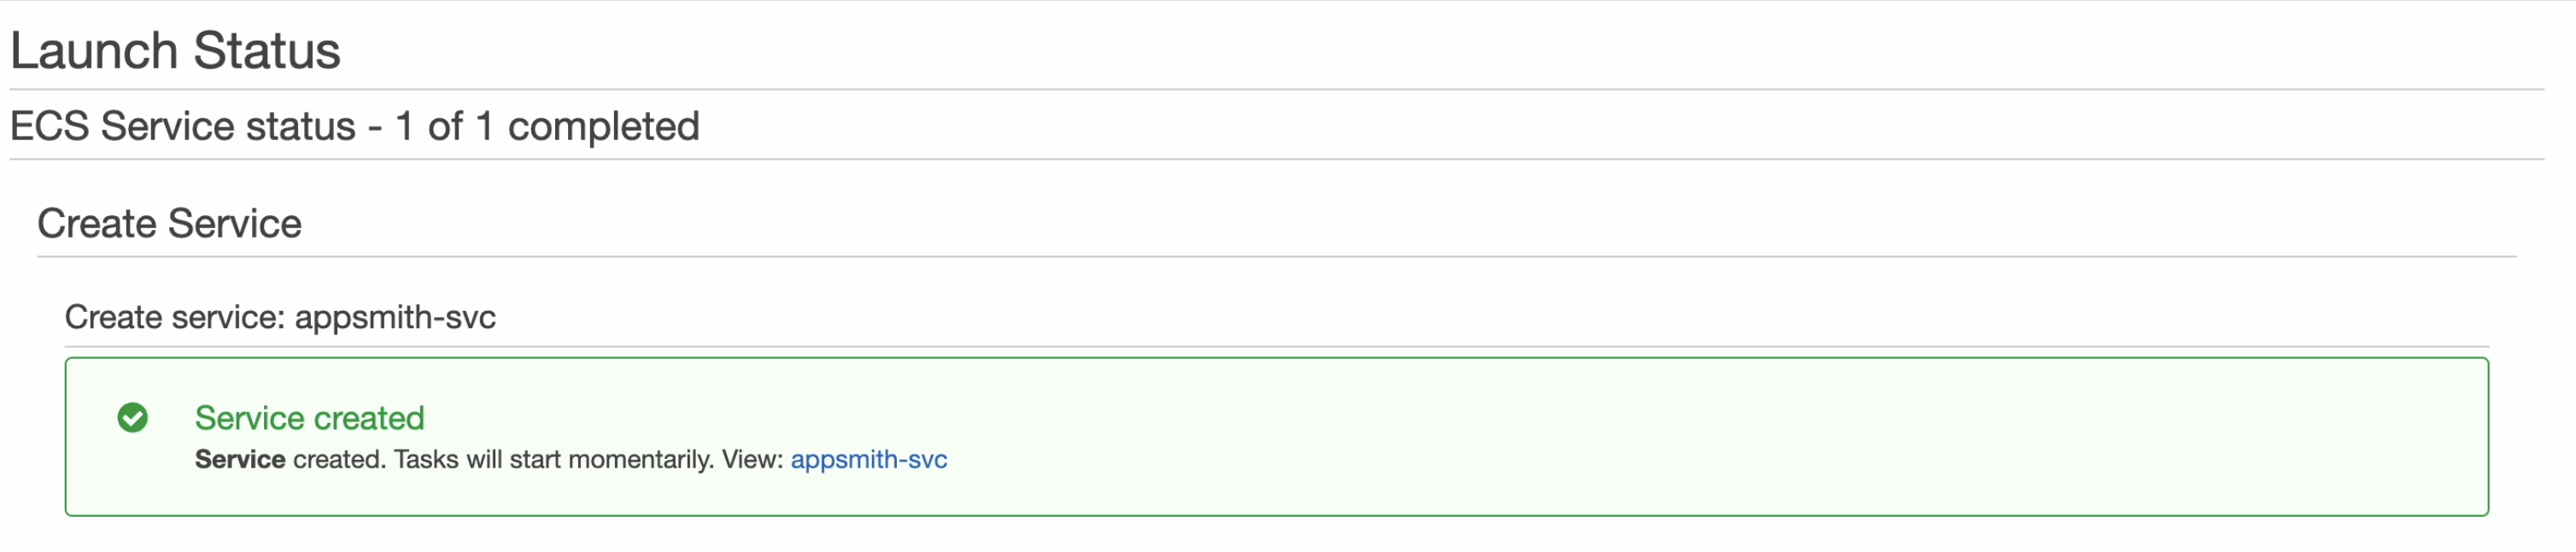
A launch status screen shows the ECS Service Status Follow these steps to verify the Appsmith installation:
a. Go to the Clusters section in the sidebar.
b. Select the desired Cluster name.
c. Open the Tasks tab.
d. Choose the specific Task.
e. Click the link next to the EC2 instance id.
f. Click the Instance ID to access the Instance Summary page.
g. Copy the Public IPv4 address from the Instance Summary page.
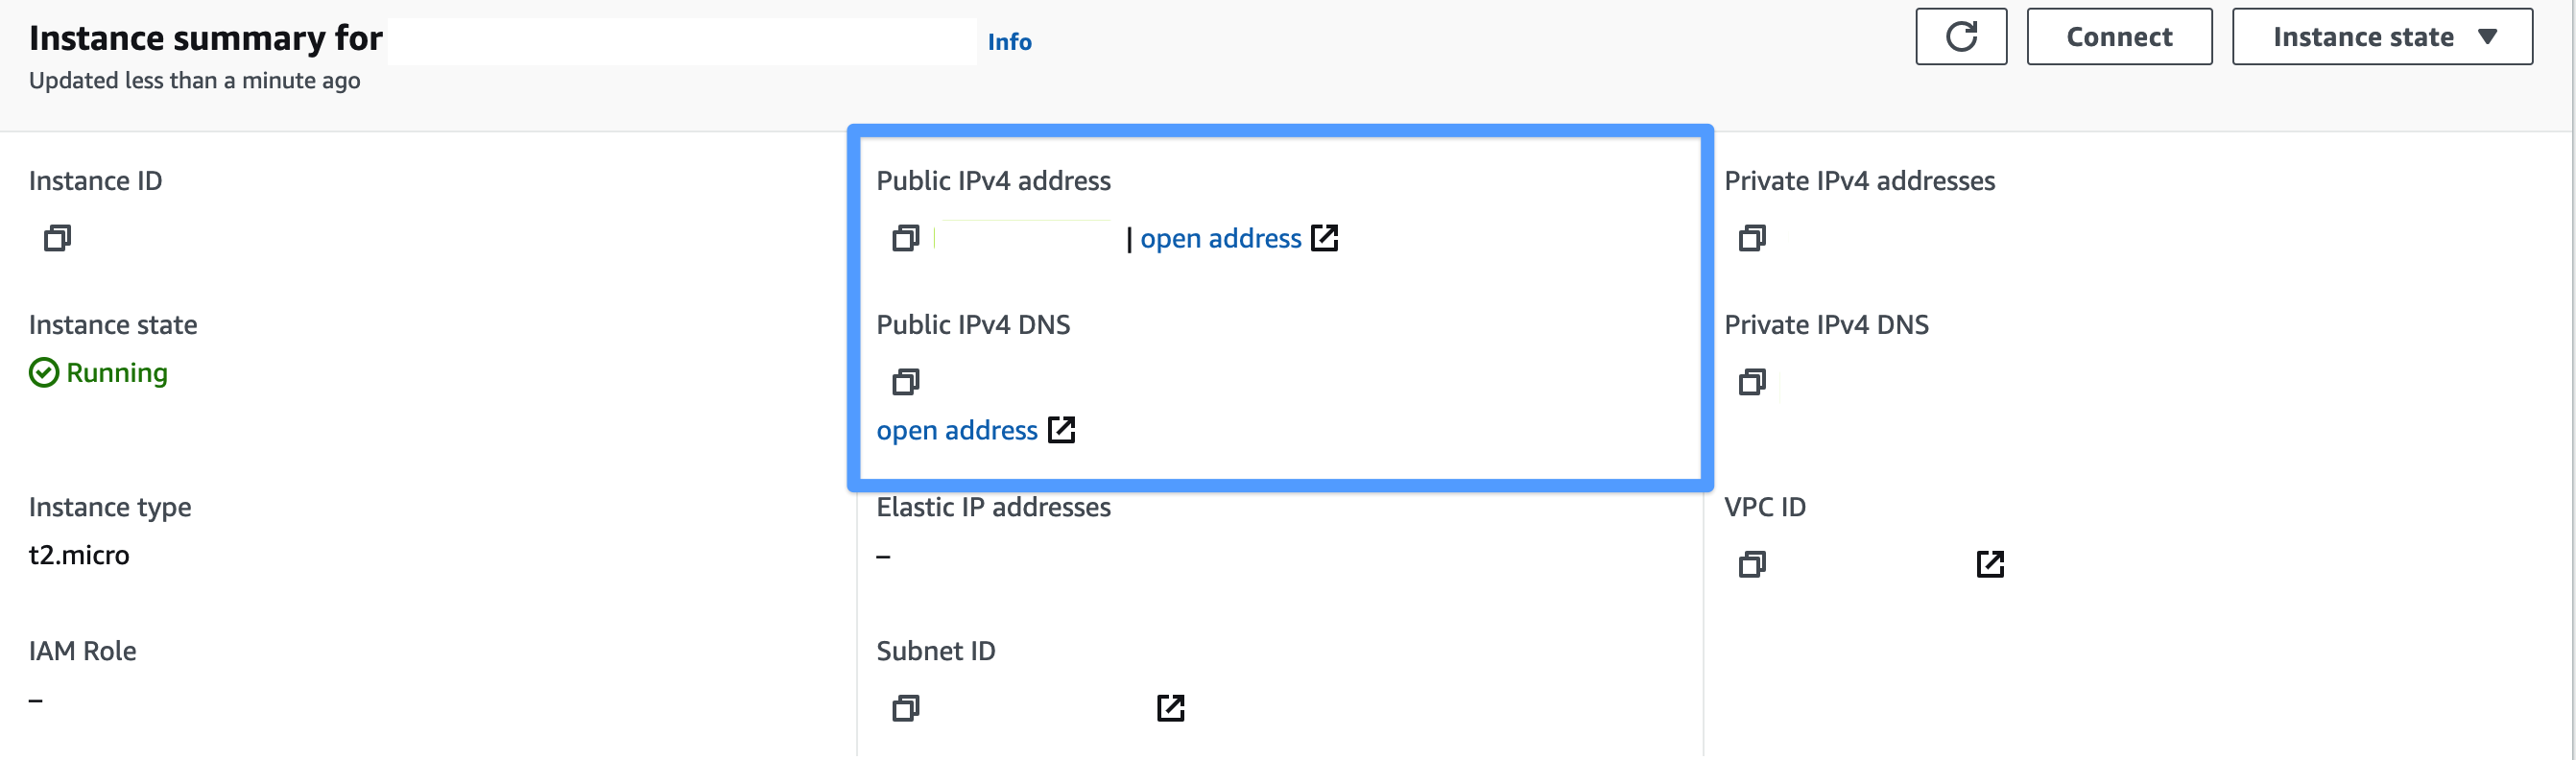
Use DNS or Public IP to access Appsmith h. Paste it in a browser tab to access Appsmith.
Troubleshooting
Some common errors that you may face during installation:
If you continue to face issues, contact the support team using the chat widget at the bottom right of this page.